

Up and running with @dojo/cli
Rene Rubalcava | August 30, 2018
If you haven't heard, dojo has gotten an upgrade! The latest version of dojo has some pretty awesome features, not just to build widgets, but it also includes a robust i18n package for your internationalization needs, a nice selection of out-of-the-box widgets and a pretty nice way to theme your applications.
A key tool provided by dojo is the @dojo/cli.
To get started you will want to use npm to install it globally.
npm install -g @dojo/cli @dojo/cli-create-app
Once it's installed, you can type dojo --help into your command line and you should get this spiffy help message.

Nice
You're one step closer to world domination.
Now you want to actually create an application, which you do with the following.
dojo create app --name awesome-dojo-app
This will take about a minute or so to create your application directory and install all the dependencies for your scaffold application.
Once it's done, you cd into your application directory and use the following command to run it.
dojo build --mode dev --watch --serve
Under the hood, the @dojo/cli is using webpack to build and bundle your application. What we're doing here is:
build- command to build the application--mode dev- usedevmode so that the builds are quicker and not production optimized--watch- watch for any file changes and recompile--serve- serve the application in a local server for us
You should be able to open your browser to and you would see the following
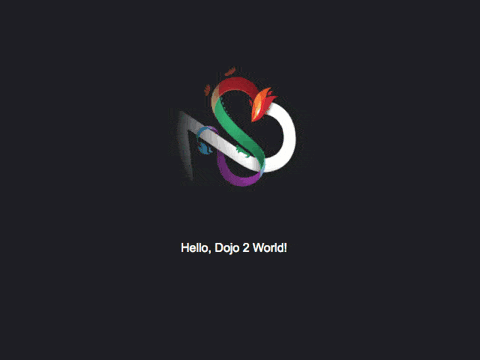
Success
I'll let you peruse the application provided, but let us take a look at the widget code real quick.
// src/widgets/HelloWorld.ts
import WidgetBase from '@dojo/framework/widget-core/WidgetBase';
import { v } from '@dojo/framework/widget-core/d';

import * as css from './styles/helloWorld.m.css';

const logo = require('./../img/logo.svg');

export class HelloWorld extends WidgetBase {
    protected render() {
        return v('div', { classes: css.root }, [
            v('img', { src: logo, classes: css.logo }),
            v('div', { classes: css.label }, ['Hello, Dojo 2 World!'])
        ]);
    }
}

export default HelloWorld;
You may not notice right away, but it's all TypeScript. Notice, in this widget their are no types or interfaces defined, that's because it's all inferred by the TypeScript compiler to make sure it's valid. The power of TypeScript!
Dojo has it's own virtual dom engine for building widgets and uses hyperscript as the default for creating your apps. If you are familiar with React, hyperscript is what it's like writing it without the JSX. But the v method is much shorter for dev purposes.
I really like writing my widgets this way, and I won't go into too much detail on building a widget, I'll cover that in another post and you can read more in the dojo tutorials.
But I do realize, some people really love their JSX, so no worries, you can still use JSX if you want.
Just change the .ts file extension to .tsx and convert the hyperscript to JSX like this.
// src/widgets/HelloWorld.tsx
import WidgetBase from '@dojo/framework/widget-core/WidgetBase';
// tslint:disable-next-line
import { tsx } from "@dojo/framework/widget-core/tsx";
import * as css from './styles/helloWorld.m.css';

const logo = require('./../img/logo.svg');

export class HelloWorld extends WidgetBase {
    protected render() {
        return (
            <div classes={css.root}>
                <img src={logo} classes={css.logo}></img>
                <div classes={css.label}>Hello Dojo!</div>
            </div>
        );
    }
}

export default HelloWorld;
We need to import the tsx module so that the JSX can be compiled and the default tslint doesn't like unused modules, so you'll also need to add a comment for tslint to ignore that line.
But there you go, you still use JSX in your Dojo widgets!
Be sure to check out the dojo tutorials for more great lessons and also the docs if you really want to dig in!